
Why Fit Matters and How to Get Clothes That Actually Fit

You buy a nice jacket. It looks great on the hanger. Then you wear it, and something is off. The shoulders sag. The sleeves cover your hands. The pants pile up on your shoes.
You blame the brand or your body, and you buy another one. This men’s tailoring guide shows why fit matters more than the price tag.
Most of the time, the clothes are fine. The fit is the problem. In about 45 minutes at home, you will learn to check your own shirt, jacket, and pants. You only need a mirror and a tape measure. No sewing skills are needed.
By the end, you will know what a tailor can fix, what they cannot, and what to say at the shop. You will hold a short, clear list instead of saying “make it fit better.” That vague phrase is how men end up with bad fixes and wasted money.
The home check is a beginner task. The tailor visit comes after. Grab three pieces you wear often, and let’s start.
- 1 dress shirt you wear often
- 1 blazer or suit jacket
- 1 pair of dress pants
- The shoes you wear with those pants
- A full-length mirror (or your phone on a 10-second timer)
- A soft tape measure (or a string and a ruler)
- Painter’s tape or safety pins
- Your phone, for photos
- A notes app or small notebook
- Optional: a friend to help
- Pick three pieces
- Stand tall at the mirror
- Find the shoulder seam
- Test the chest and waist
- Measure the sleeve
- Check jacket and shirt length
- Check pants waist, seat, and break
- Mark every problem
- Sort fixes into easy, possible, skip
- Book a tailor
- Approve the pins
- Check the finished work
Pick one shirt, one jacket, and one pair of pants to check
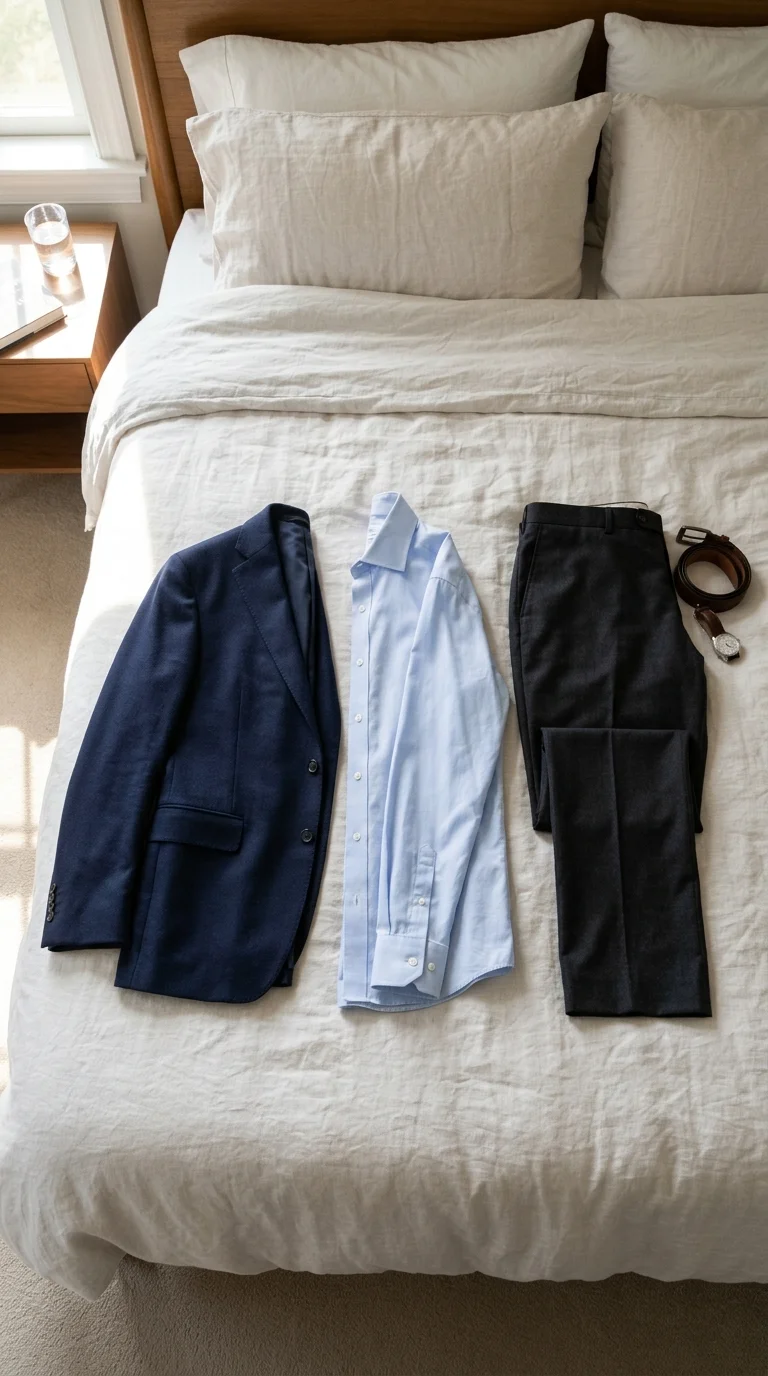
Three pieces is plenty. More than that and the checks start to blur together. Choose a dress shirt, a blazer or suit jacket, and a pair of dress pants that you wear often but never feel good in.
Skip anything you plan to donate, since fixing clothes you do not like wastes money. These three also teach you every check you will repeat on the rest of your closet.
Stand tall in front of a mirror with your arms relaxed

Before you look at a single seam, dress the way you would for a normal workday, with all three pieces on at once. Do these five things first:
- Put on the shoes you wear with the pants
- Empty every pocket
- Button the shirt all the way up
- Fasten the jacket the way you normally wear it
- Let your arms hang loose at your sides
Slouching hides shoulder and back problems, so stand the way you would at a job interview. No full-length mirror? Prop your phone against a wall and use the 10-second timer to shoot the front, side, and back.
Find where the shoulder seam lands
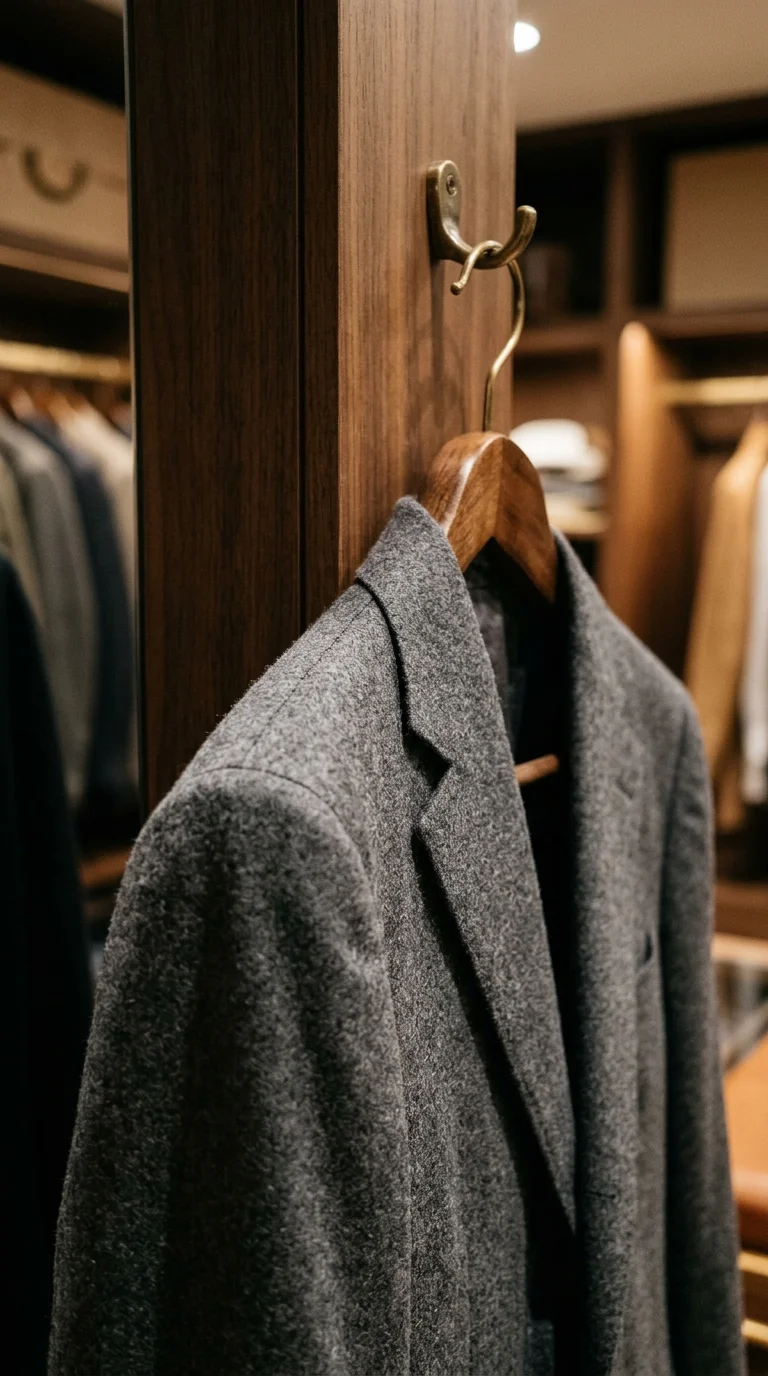
Look at the stitched line on top of your shoulder, where the sleeve joins the body. It should end right at the tip of your shoulder bone, within about half an inch.
If it hangs past the bone, the piece is too big. If it sits up on top and the fabric ripples, it is too small.
Everything else on a jacket hangs from the shoulders, so check this first. The same rule works for shirts.
Test the chest and waist for pulling or extra fabric

Buttoned up, your shirt and jacket should lie flat. Look for X-shaped wrinkles that pull outward from a closed button, because they mean the piece is too tight.
Now pinch the fabric at your waist on each side. More than 2 inches of loose cloth in your fingers means it is too big.
A jacket should close without strain, and you should be able to slide a flat hand between the jacket and your shirt.
Measure the sleeve against your wrist bone

Let your arms hang straight down, then look at where each sleeve ends. A jacket sleeve should stop at the wrist bone, the round bump on the outside of your wrist.
A shirt cuff should reach the base of your thumb, about 1/2 inch past the jacket sleeve.
Run the tape from your wrist bone to the edge of the sleeve, and write the number down. If the sleeve falls past your bone, you are measuring how much to shorten.
If it ends above the bone, check for extra fabric inside the cuff before you call it a lost cause. A tailor can often let out a hem by 1/2 inch or so, but only if the material is there.
Check the jacket and shirt length

Two quick tests cover both pieces.
For the jacket, drop your arms and curl your fingers. The hem should land near your knuckles, and it should cover your seat.
A jacket that stops at your belt looks boxy and short, and one that falls past your fingertips looks like a borrowed coat.
For the shirt, tuck it in and raise your arms over your head. If it pops out, it is too short. Untucked, the hem should land around the middle of your zipper, not near your knees.
Check the pants waist, seat, and break

Start at the waist. Unbuckle your belt, button the pants, and let go. They should stay up on their own, with room for one finger between the waistband and your stomach.
Next, turn sideways. Fabric pulling across the seat or pockets that flare open means the pants are too tight there.
Last, look at the hem. It should just touch the top of your shoe and leave a small fold of about 1/4 inch. If it piles up in three or more folds, it is too long.
Mark every problem with painter’s tape or a safety pin

Put a small strip of tape where each issue sits, so you do not have to remember it later. A pin works too, but use it sparingly and keep the point away from your skin.
Then write the problem in your notes app in plain words, such as “left sleeve 3/4 inch too long.” Snap a photo of each marked spot.
Photos help the tailor see what you saw, and they stop you from arguing with your memory at the shop.
Sort your fixes into “easy,” “possible,” and “skip”

Look at your list and sort each problem into one of three piles. “Easy” fixes are sleeve length, pants hem, and a loose waist.
These are everyday jobs for a tailor. “Possible” fixes include slimming the body of a jacket or tapering the legs, which cost more and need enough spare fabric.
“Skip” means the problem is too big or too costly to fix. If the repair would cost more than half the price of a new piece, put it in “skip” and stop.
Book a tailor and bring your list

Call two shops before you choose one, and ask how long a basic job takes. Most hems and sleeve changes take 3 to 7 days.
Prices vary by city, but in the US a pants hem often runs $15 to $25, and shortening jacket sleeves $20 to $40. Get the price before they start.
Then pack all three pieces, the shoes, and your notes and photos. Tailors work faster when they can see your list instead of guessing.
Approve the pins at your fitting

Everything the tailor does next starts as a pin, so this is your best chance to speak up. Stand the same way you did at home, with your arms relaxed.
The tailor will mark each change while you wear the piece. Pins are free to move, but stitches are not, so say so right away if a sleeve looks short or the waist feels snug.
Sit down once and raise your arms. If anything pulls, ask them to leave a little more room.
Check the finished fit against your notes before you pay
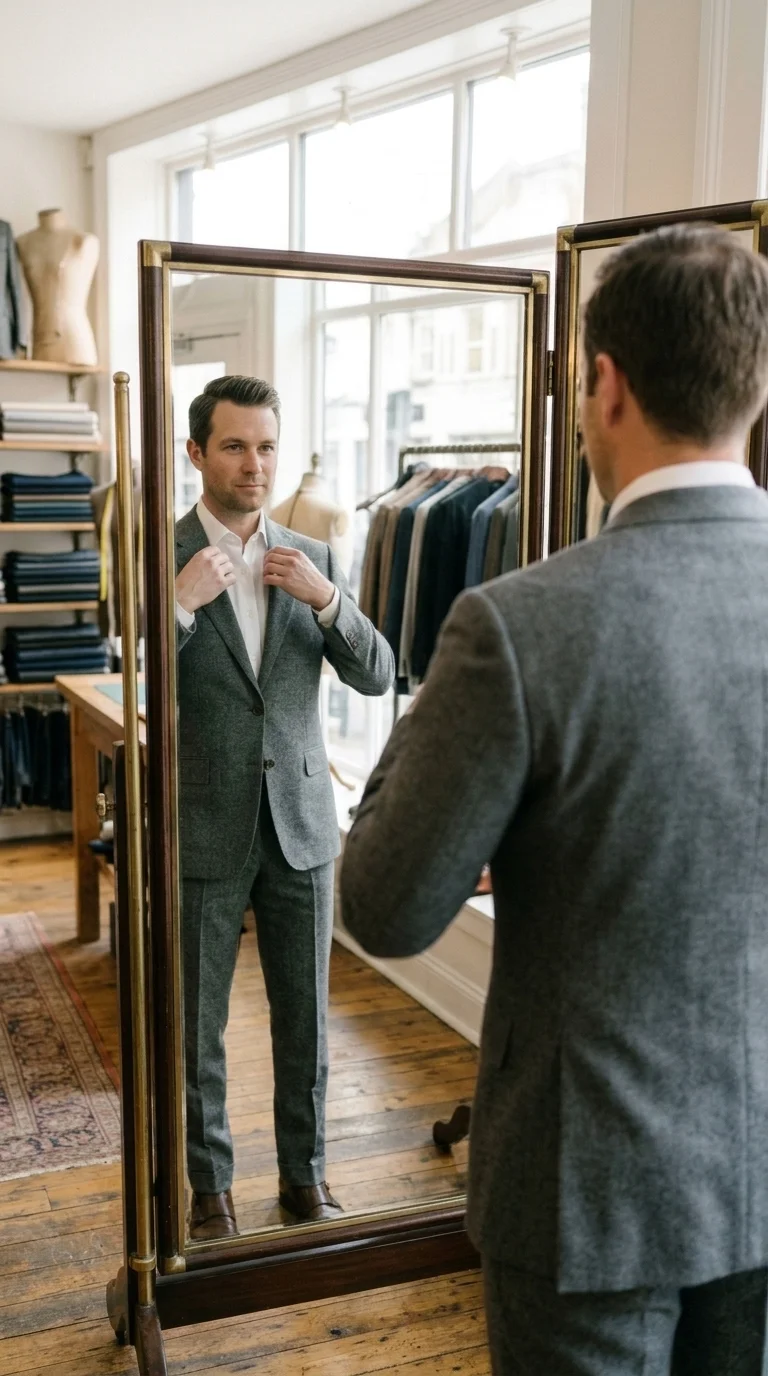
Try every piece on in the shop, with the same shirt and shoes you wore at home. Go back through your notes and photos one problem at a time. Then run this quick check:
- Sleeve ends at the wrist bone
- Pants hem touches the top of your shoe
- Waistband stays up with the belt off
- No pulling when you sit
- No new wrinkles near the changed seams
Take your time. Once you walk out, a fix often costs extra, and some shops will not redo work after you leave. If one spot is still off, point to it and ask for a small tweak.
